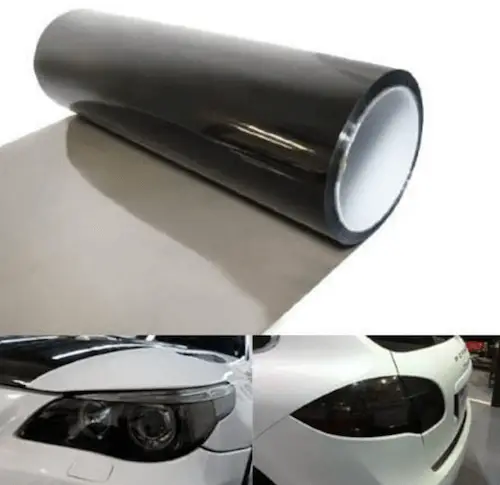
Tinting Your Cars Tail Lights: Everything You Need To Know
TINTED TAIL LIGHTS – A QUICK GUIDE
What are tinted tail lights?
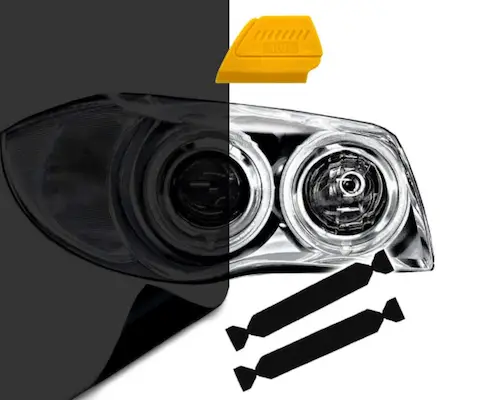
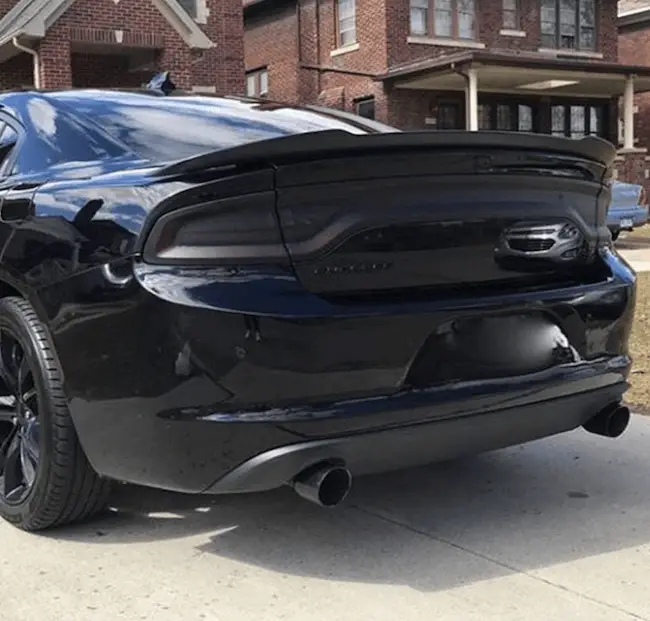
Tinted tail lights reduce the brake light output significantly, resulting in a black-cherry-like tint that may look great with darker hues, particularly reds.
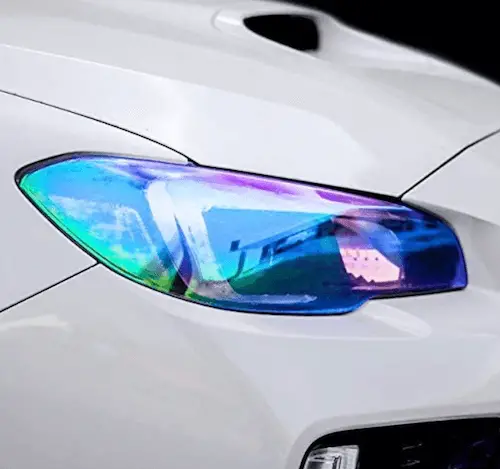
Changing the hue or opacity of your tail light may provide a unique appearance to your vehicle, truck, or SUV.
It may also draw attention and provide the “WOW” element that many people desire in a car. Most individuals opt to install taillight tinting for the sake of appearances. While there are variants to tinting taillights that can be prohibited, this application really improves the overall function of the taillight and can really provide a custom look to your car.
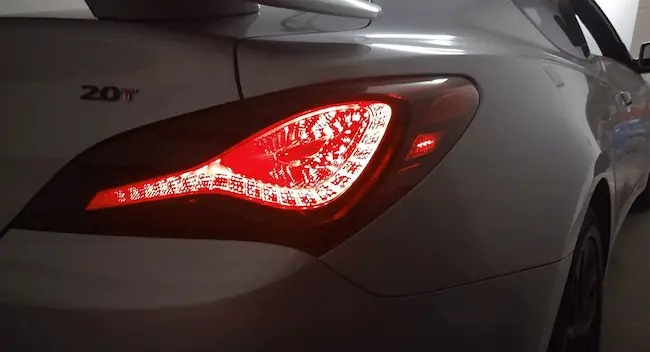
Tailight Tinting Video
Best tail light tint kits:
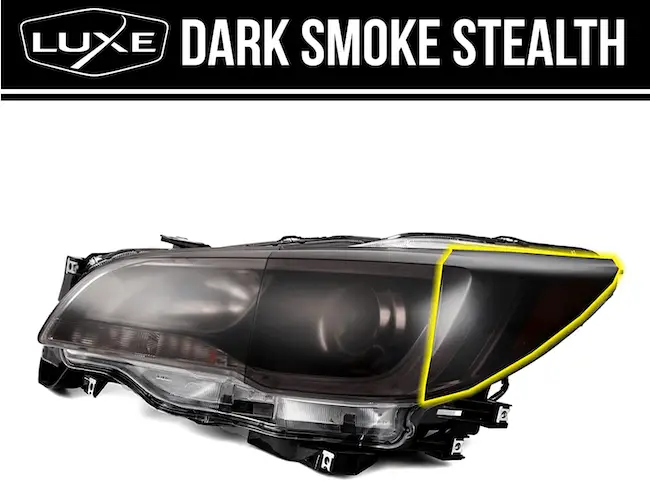
- Luxe Lightwrap Darksmoke Stealth Tint Kit – Universal
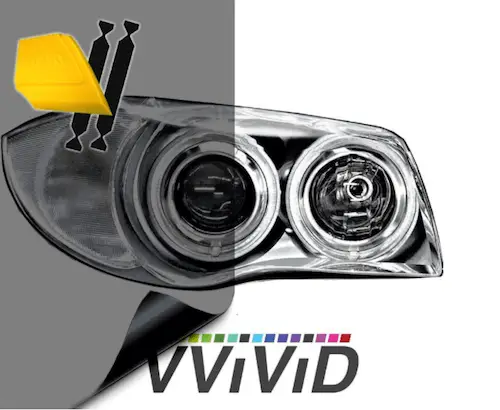
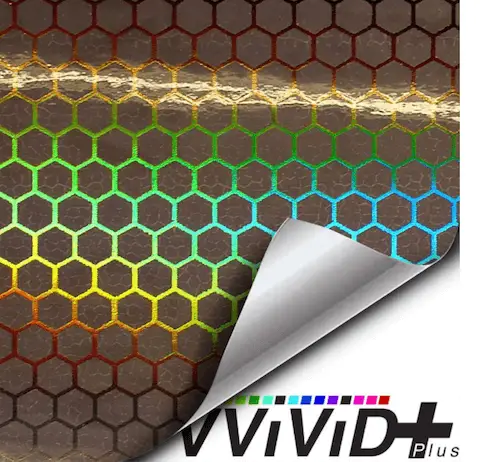
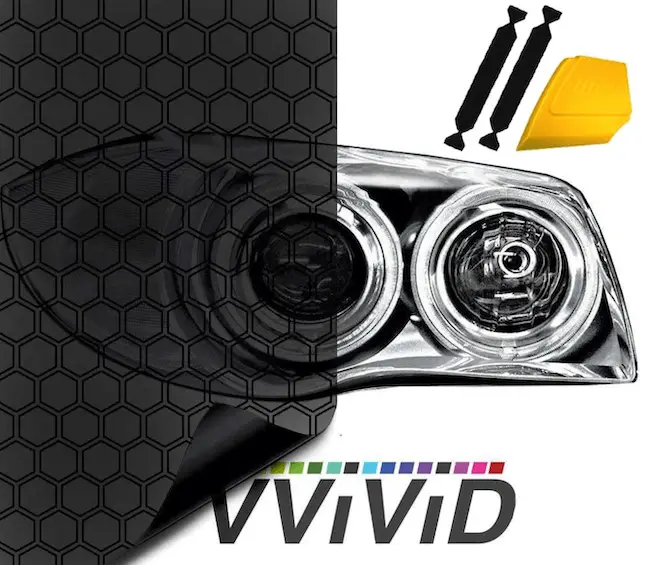
- VViViD Hex Light Air-Tint Headlight Taillight Vinyl (w/Toolkit)
Tinted Tail Lights Legal?
Are tinted tail lights illegal? Show cars look incredible because they are not legally permitted to drive on open streets and so, can be altered in extreme ways, such as with a dark tint on the taillights.
While there are no federal limitations on tinted taillights, each vehicle is subject to the state laws, which differ and may determine the required quantity of light output or light transmission, needed from your hued taillight.
The last thing you want is to be pulled over by a cop at a stoplight because your taillights do not comply with local laws.
There are many grey areas in the USA, so verify your state’s vehicle code to confirm you have the legal capacity to tint your taillights. In New York, for instance, no car made after 1952 is permitted to have rear taillights where the light bulbs cannot be seen from 1,000 feet away. A fast online search for your jurisdiction plus the words “vehicle code” can yield the legitimate information you need to decide whether your tinted taillights are legal.
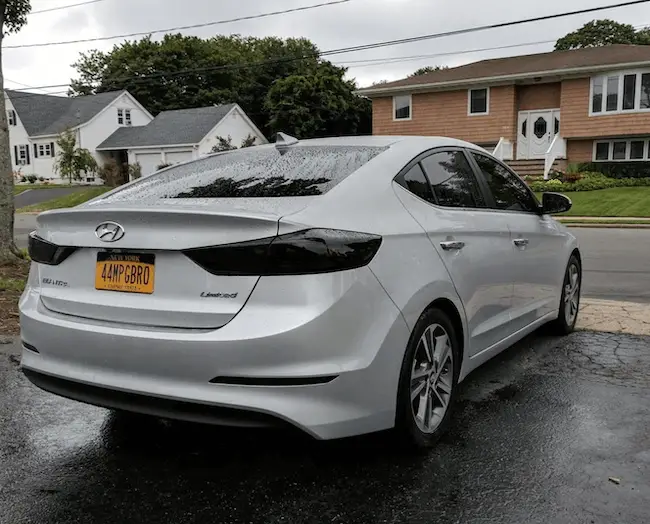
Black Tail Lights illegal?
All states mandate that vehicle tail lights be visible from a specified distance away, particularly at night. This holds true for both tinted and non-tinted taillights.
This implies you might be pulled over if your taillights are obstructed by dust or snow, making them hard to see. A law enforcement officer has a legitimate reason to stop you even if you have one taillight that isn’t visible, such as faulty light bulbs.
Taillights that have been completely blacked out are unlawful in all 50 states. Your tinted taillights are considered prohibited if their appearance results in not being able to see anything through them, including your turn signal when it’s switched on.
This is for your protection and other drivers around you. Other drivers must be able to see when you are slowing, coming to a halt, or preparing to turn.
How much does it cost to tint tail lights?
It’s probably less than you’d imagine. For professional results, you can receive a perfect fit tail light tint job for between $65 and $150 per lens at the wide range of pricing. This is based on the vehicle and the shape and size of the tinted tail lights. More precisely, most drivers can expect to pay between $85 and $95 for each lens.
Where to purchase tinted tail lights:
There are many tail light tint options on the market. Pre-cut tail light tint, dark smoke style taillight tint, tint for LED tail lights, light smoke options, below is a curated list of great quality tinted tail light options:
- VViViD Air-Tint Extra-Wide Headlight Taillight Vinyl Tint
- NDRUSH Blackout Taillight Vinyl Tint Film
- VViViD Air-Tint Smoke Black Gloss Vinyl Headlight Foglight Transparent Tint Wrap
- Bogar Tech Designs Taillight Side Markers Tint
- VViViD Air-Tint Dark Black Taillight Headlight Tints
How to tint your tail lights?
- Cut the film to roughly the form of your reverse lights. It’s fine if you have a little excess tint on the borders since you can always trim it later once the film is placed to ensure a perfect fit. Alternatively, you can purchase a pre-cut film to make the installation easier.
- Make sure there is no dirt/debris on the lights. For a quality job, you want to operate on a clean, dry, smooth surface.
- Install the tint film. You must apply the film rapidly and with an even layer since any trapped dirt under the surface might produce bubbles and creases in the film. Careful to avoid touching the sticky side and leaving behind finger prints.
- Flatten the film out. Once installed, this is when the squeegee comes in, as it allows you to flatten and smooth out the film and remove any surplus water or bubbles.
- Apply Heat. Once the film has been applied, use a heat gun or hair dryer to provide the final touches to guarantee the film is completely dry.
- Remove and cut away any extra film tint to match the shapes of your lights.
- And you are all done. Enjoy your newly modified rear taillights.
ProTips: If your taillight is about 12 inches wide, a 13 or 14-inch cut should be sufficient. Separately, while the adhesive side of the film is not extremely adjustable, you should be able to reposition it if you need to cover the lenses or make a minor adjustment.

